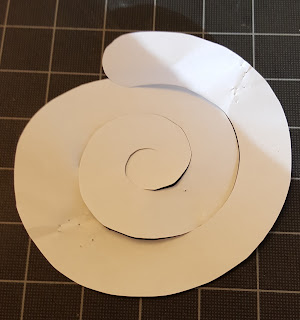
M7429 TWIST IT, BABY!
Okay, so let's get this twist done, after that you'll be done in a jiffy!
 |
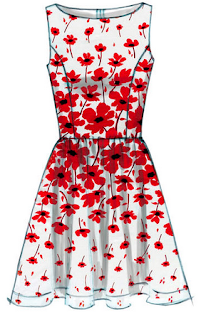
M7429
So to begin, I recommend you mark your pattern pieces like this:
Piece 1 is the front, label the single notches on the left letter D.

Piece 2 is the upper left front, mark the lower edge single notches letter B

Piece 3 is the lower left front, mark the upper edge single notch letter C
|


Comments
Post a Comment